Getting Started
Step 4- Deploy On Hardware
So far in our KOS journey, we have joined an organization, installed KOS Studio, and created our first device image. The next step is to install the image we created in step 3 to an actual device.
For deploying an image of the hardware, we will follow below steps :
Sr. No |
Step |
Step Description |
1 |
Choose which Rpi you will be using to install the image on. |
|
2 |
Download and install KOS bootloader for selected RPi. |
|
3 |
Install the device image from Step 3 to the RPi |
Choose RPi
KOS provides bootloaders for various single-board computers (SBC). We will use Raspberry Pi 4A or Raspberry Pi 4B for this step.
You can download the KOS Studio bootloader for your RPi choice below.
Supported RPi |
Download link |
Installation Instructions |
RPi-CM4 |
||
Rpi-4b |
If you wish to use other SBCs for your development, please get in touch with the KOS Development team for bootloader support.
Install the KOS Bootloader
Installing a bootloader installs the initial software that allows KOS Studio to communicate with Raspberry Pi. For your Raspberry Pi choice, follow the bootloader installation instructions provided above.
Install the device image
After loading the bootloader on the device, KOS Studio can find it on the same network. Please connect the RPi on which we just loaded the bootloader to the same network as the personal computer on which you are running KOS Studio.
Follow the below steps to register the RPi as a node.
-
Connect Raspberry Pi to the network and power it on.
-
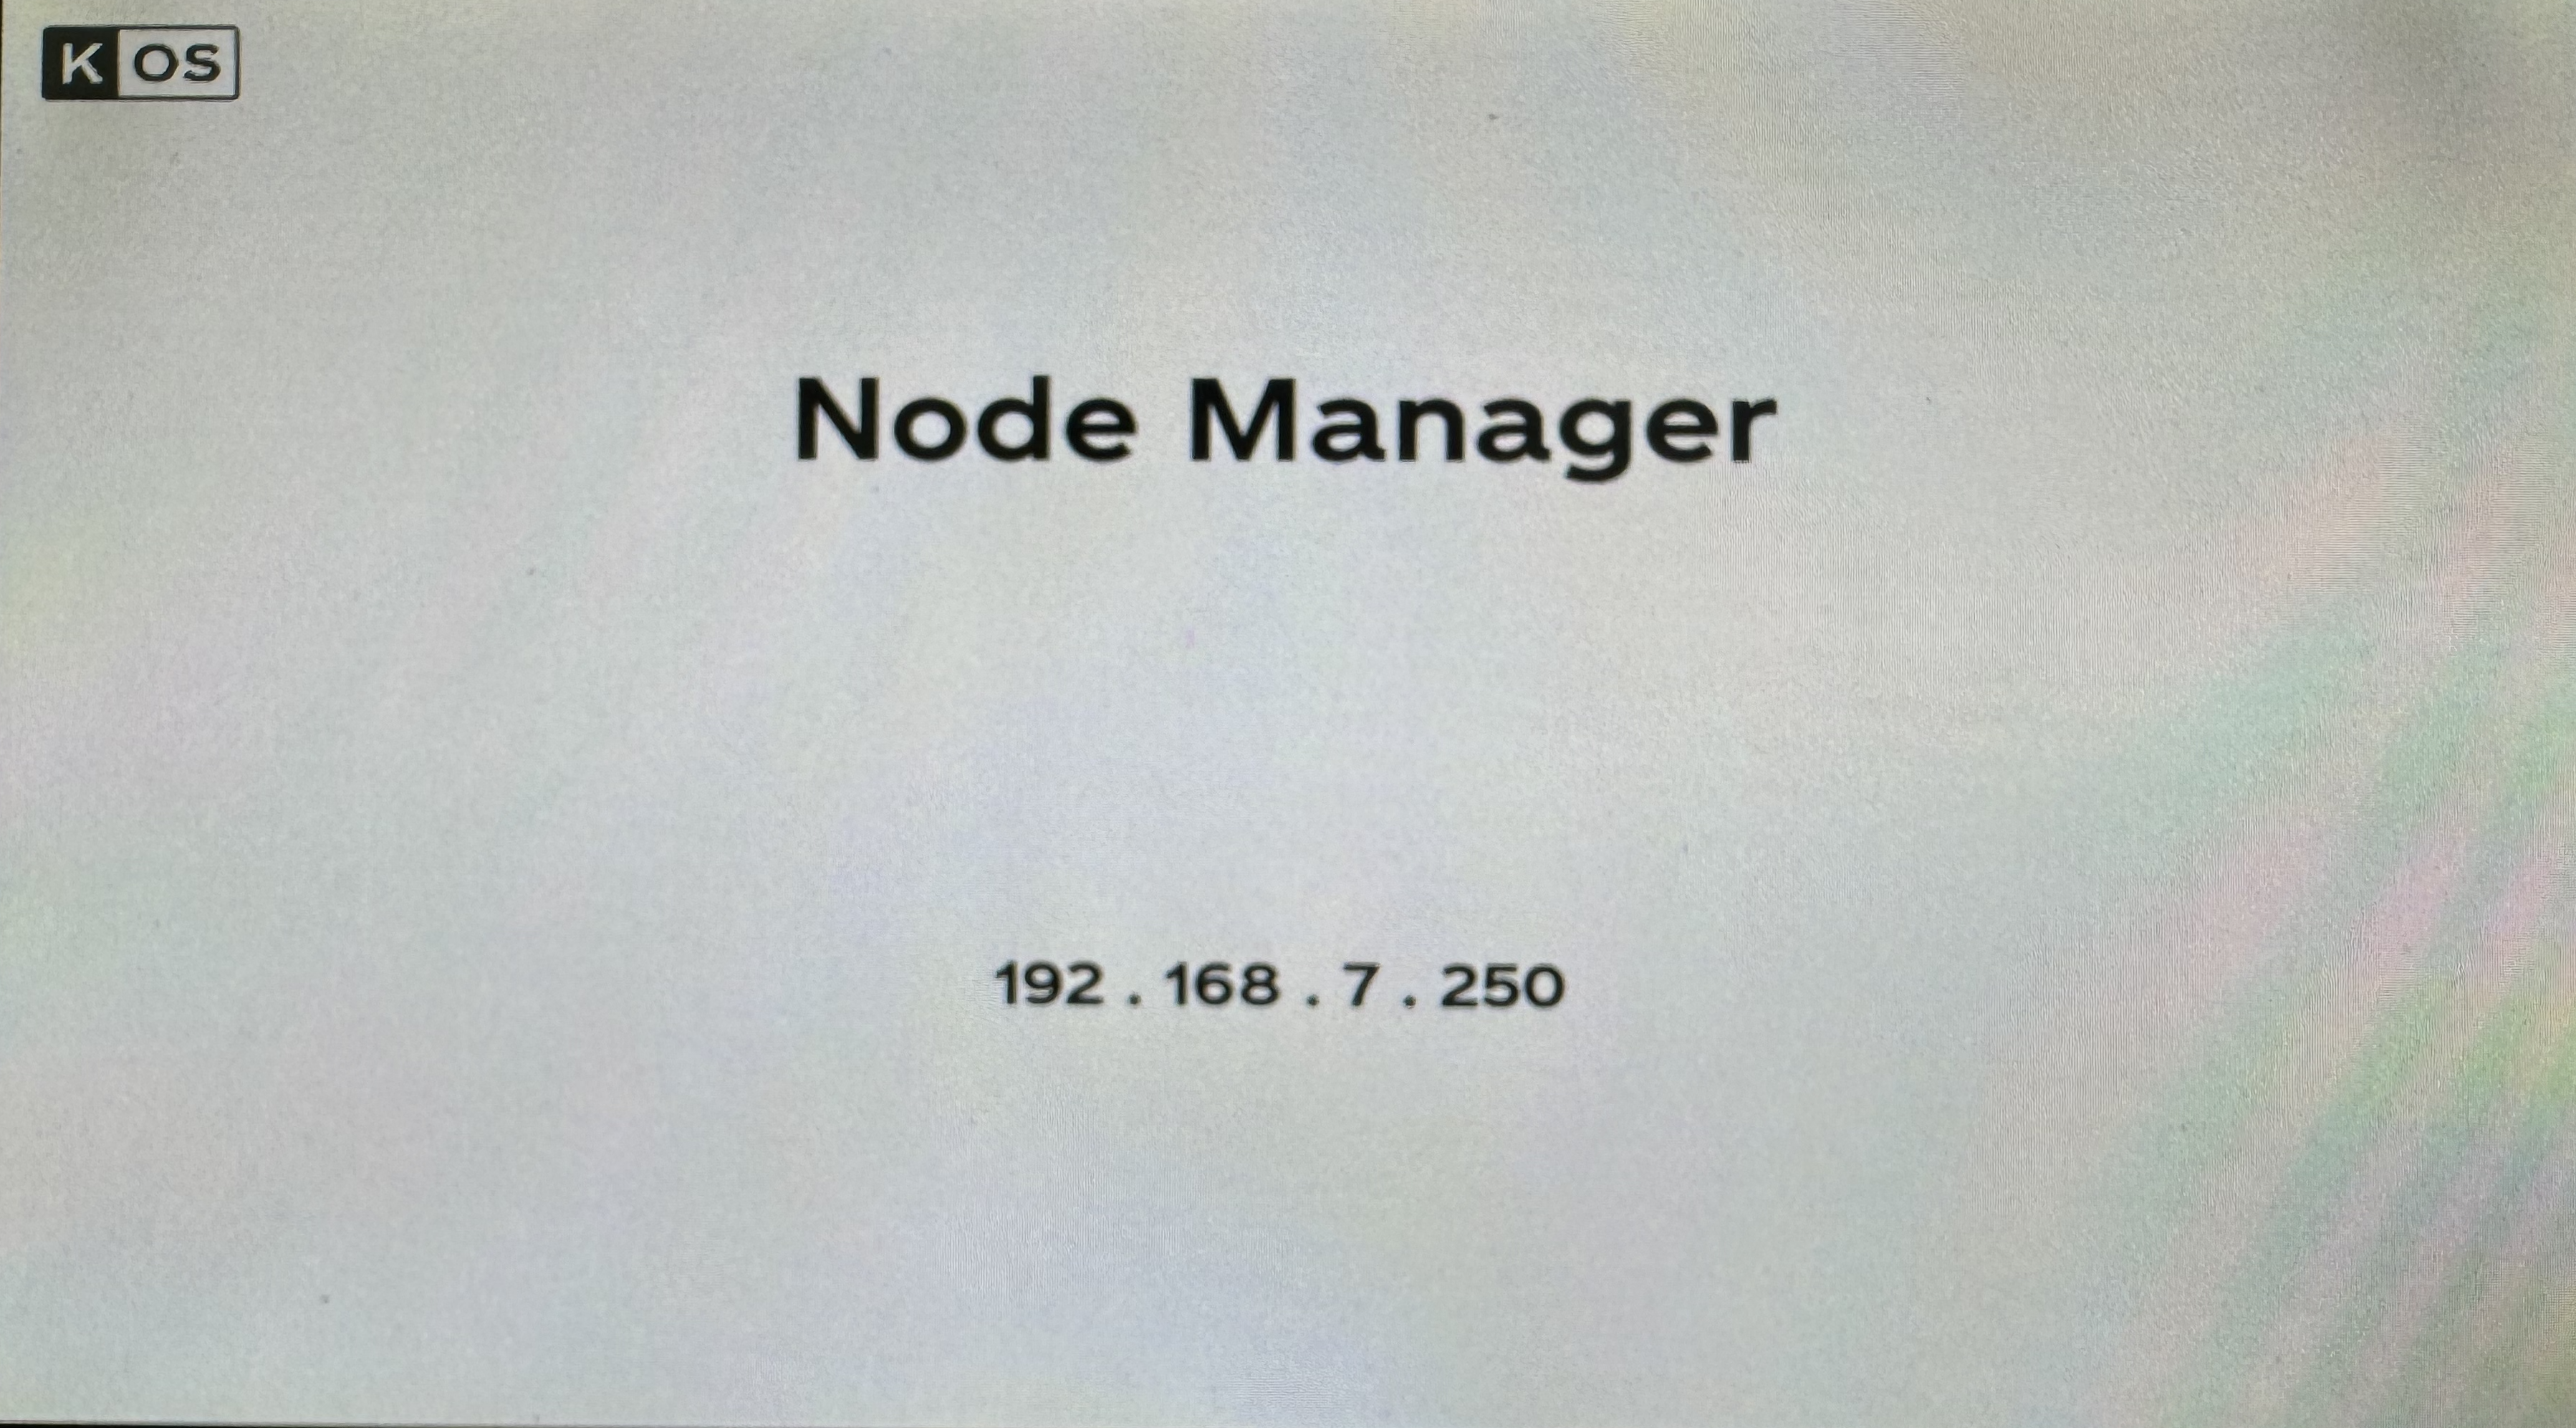
After the boot process is complete, if the screen is connected to the RPi, the screen displays the node manager with the newly discovered IP address for the device.
Figure 1. KOS Bootloader Screen -
Log in to KOS Studio and navigate to My Images.
-
Select the image we created in step 3. Next to the image name, the target on which to run the image is displayed. By default, this value is set to “Simulator.” Click on the dropdown for the target.
-
The dropdown now displays the IP address of the RPi as an option to select.
-
Select that IP as a new target.
-
Click on Run Icon
 to run the image.
 -
In the Connections window of KOS Studio, you can see the progress of the installation. After the installation is complete, the RPi screen should display the KOS splash screen.

Figure 2. KOS Splash Screen
KOS is the future of embedded device development. With the steps we have been following so far, you can witness its power in four simple steps: getting from nothing to having an image running and deployed on the hardware.
We are excited to accompany you in your development, making challenging things easy to adapt.
On this page
Java Development
Seamlessly transition from Legacy+ systems to Freestyle microdosing and advanced distributed dispense systems.
UI Development
Using KOS SDKs, integrating Consumer and Non-consumer facing UIs becomes seamless, giving you less hassle and more time to create.
Video Library
Meet some of our development team, as they lead you through the tools, features, and tips and tricks of various KOS tools.
Resources
Familiarize yourself with KOS terminology, our reference materials, and explore additional resources that complement your KOS journey.
Copyright © 2024 TCCC. All rights reserved.