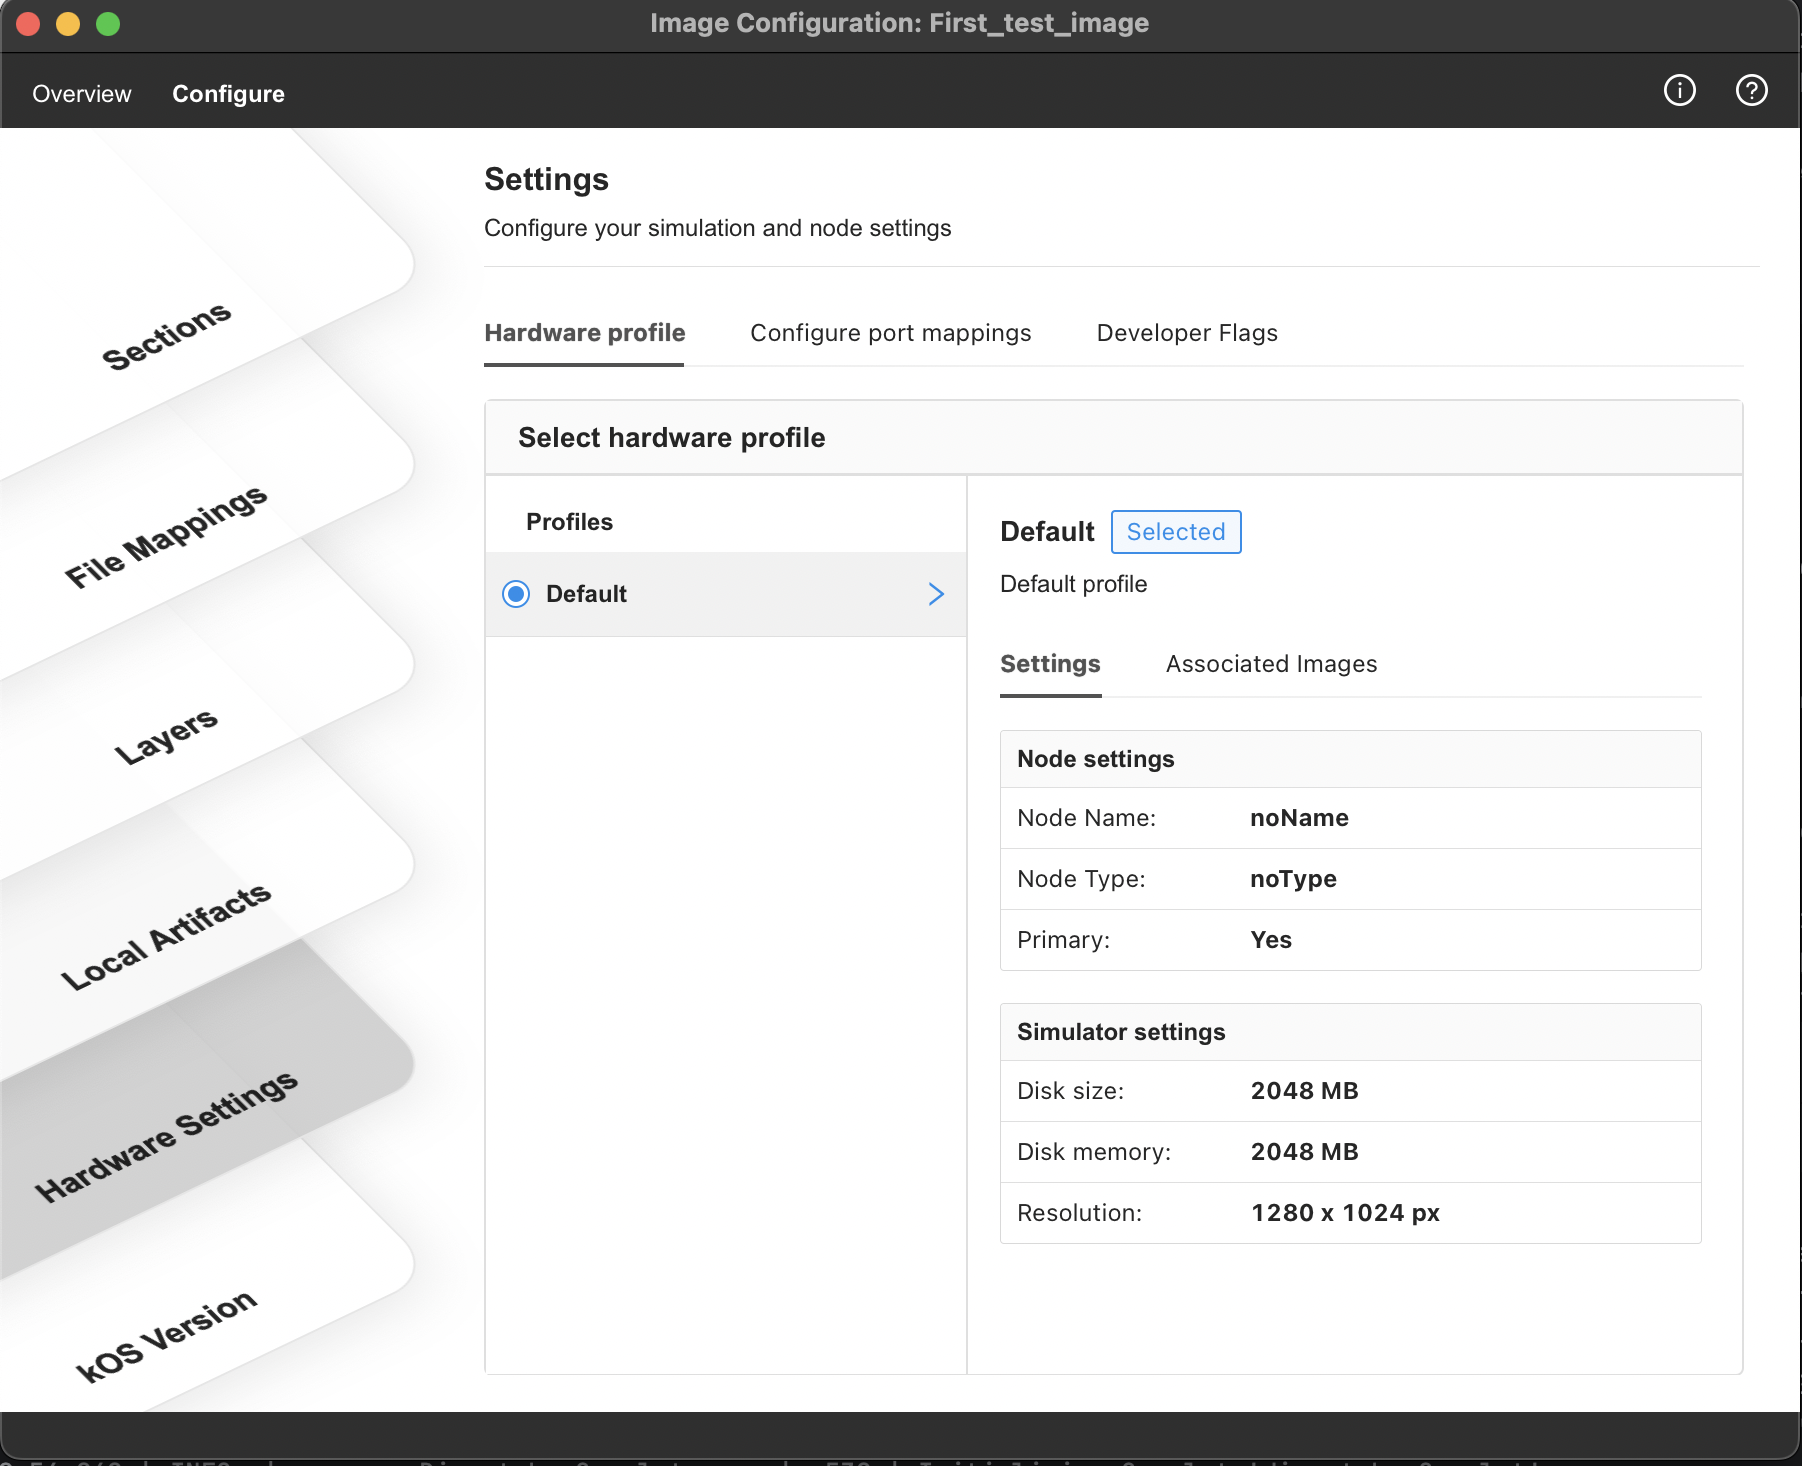
Select Hardware Profile
After selecting your KOS release to configure your device image, you must choose the hardware profile and node settings for the device on which you will run your image. The Hardware profile screen lets users set up port mappings and developer flags to facilitate quick debugging and device setup. This article walks through the steps to set up hardware settings for your image.
Hardware Profiles :
Hardware profiles provide images with details about the hardware on which you run the image. Hardware profiles are added by the administrator per project via Hardware management .

Access and view hardware profiles for an image
-
Log in to KOS Studio, and from My Images, click on Open Image Manager (in the upper right corner of the screen)
-
From the list of images, select the image you want to update and click on Settings
 for that image(on right hand side for image row)
 -
Select the Configure tab from the top menu on the image configuration window.
-
From the Image Configuration window that opens, select Hardware Settings from the list of stacks displayed on the left-hand side.
-
Select the Hardware Profile tab to view available hardware profiles.
-
Select the appropriate hardware profile from the list by selecting the radio button.
-
Details about the profile are displayed once a profile is selected from the list. Consider following :
-
A default profile is added to your hardware profiles list by KOS Studio.
-
For child images, the Inherited hardware profile is indicated via an inherited label

-