Tutorials
Design Demo UI
CUI
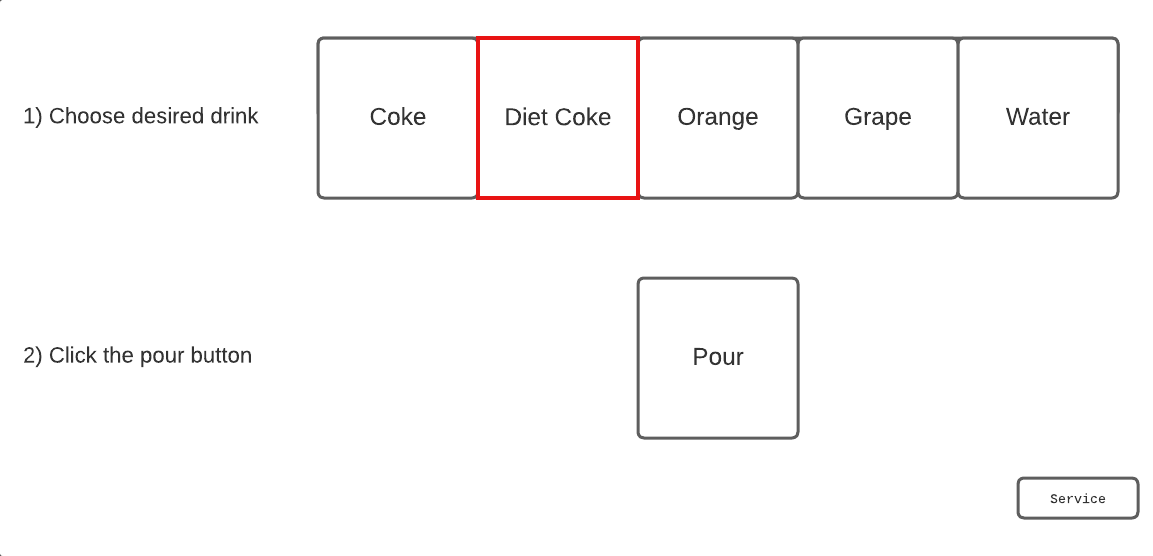
For our demo dispenser, our consumer user interface will look like this:
Figure 1. Consumer user interface (CUI)
The user selects his/her beverage, then presses the pour button.
The service button takes the user to the administration screens. In a real dispenser, this button would be hidden, and an access code (password) would be required.
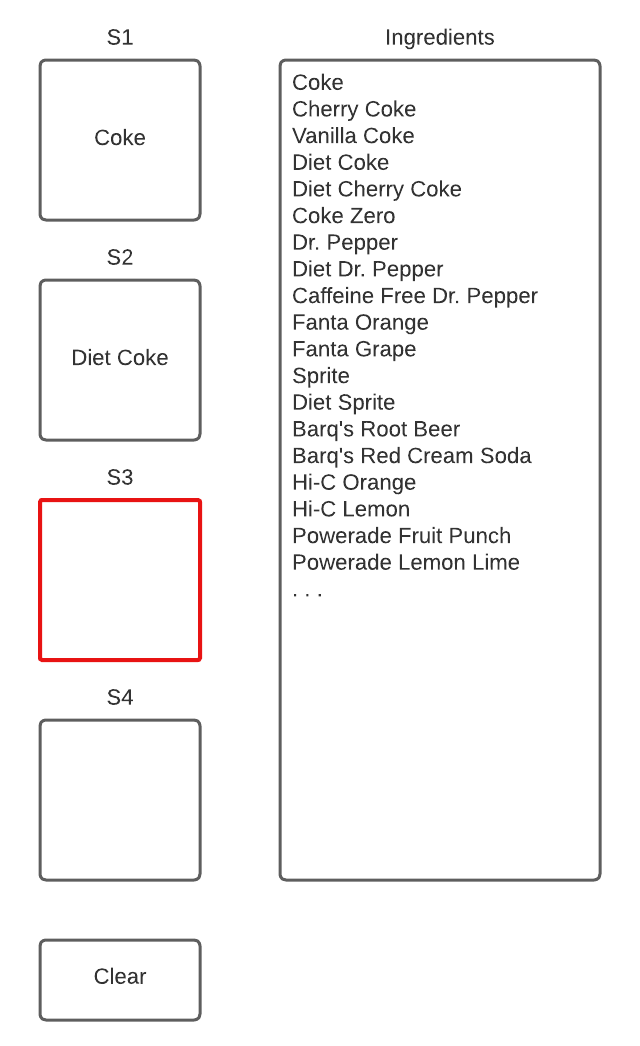
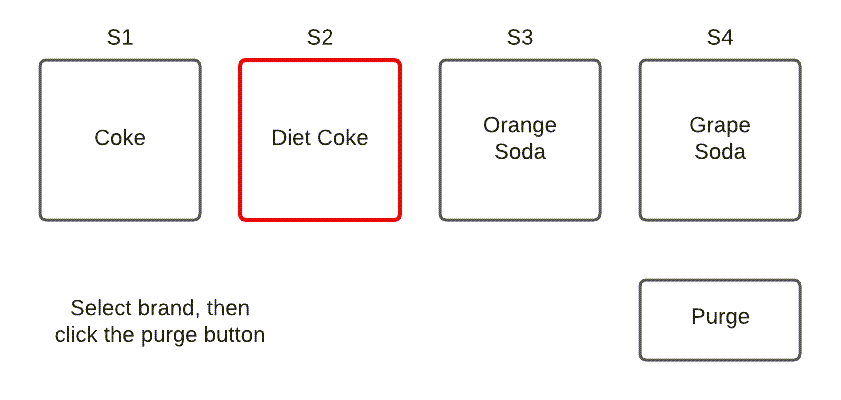
NCUI
Our non-consumer user interface, also known as the administration screens, has a few buttons:

Figure 2. Non-consumer user interface (NCUI)
Of course, a real admin page would have many more options. It could also include different access levels, such as staff, manager, and technician.
We’ll only use three of these: the exit, brand mapping, and pump priming buttons.
On this page
Java Development
Seamlessly transition from Legacy+ systems to Freestyle microdosing and advanced distributed dispense systems.
UI Development
Using KOS SDKs, integrating Consumer and Non-consumer facing UIs becomes seamless, giving you less hassle and more time to create.
Video Library
Meet some of our development team, as they lead you through the tools, features, and tips and tricks of various KOS tools.
Resources
Familiarize yourself with KOS terminology, our reference materials, and explore additional resources that complement your KOS journey.
Copyright © 2024 TCCC. All rights reserved.