Tutorials
Create UI Project
Introduction
In this tutorial you will:
-
Install
nodeandnpmthird-party JavaScript tools -
Install the
kosuicommand-line tool -
Install Visual Studio Code IDE
-
Create a React project, which contains our demo application’s user interface
Follow these instructions to create a blank KOS user interface React project.
Install Tools
This section describes the tools you must install before creating a UI project.
1) Install Node.js and npm.js
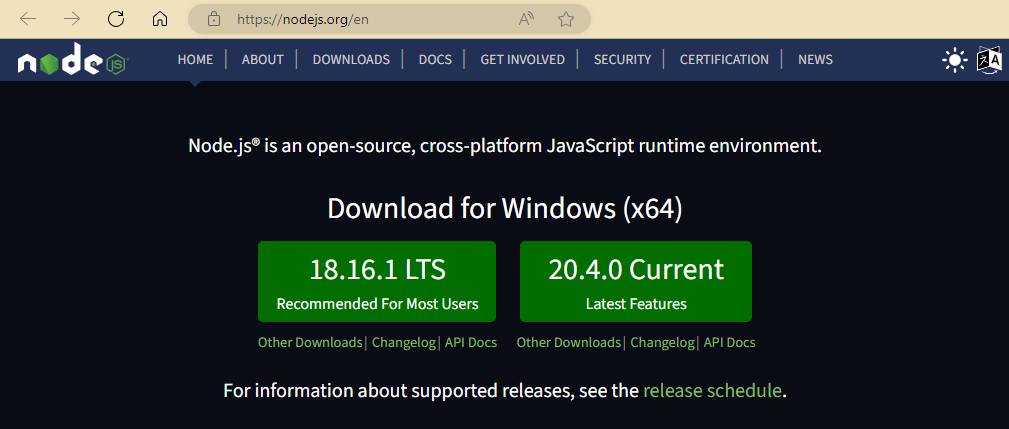
Node.js (nodejs.org) is an open-source, cross-platform JavaScript runtime environment built on Chrome’s V8 engine.
npm.js (npmjs.com) is the default package manager for Node.js. It is an online database of public and paid-for packages, called the npm registry.
To install both, go to the Node.js home page. Download and install the most recent LTS version.
Figure 1. Download NodeJS and NPM for Windows
When completed, check that node and npm are properly installed by verifying their versions (as of July 13, 2023):
node -v # v18.16.1npm -v # 9.8.0|
Updating NodeJS and NPM
To update NodeJS, simply re-download and reinstall the latest from the NodeJS website. |
2) Gain access to KOS node packages
To access the KOS node packages, you must configure your credentials. You’ll use your GitHub personal access token (classic), found under GitHub > Developer Settings. This can be the same token created in the Hello World tutorial. Once you have the token, execute the following from the command prompt:
npm login --scope=@kosdev-code --registry=https://npm.pkg.github.comThis will ask for your GitHub username and access token:
Username: <ENTER-YOUR-GITHUB-USERNAME>
Password: <PASTE-YOUR-GITHUB-PERSONAL-ACCESS-TOKEN>
When successful, npm responds with:
Logged in to scope @kosdev-code on https://npm.pkg.github.com/
This operation updates the .npmrc file in your home directory.
3) Install the KOS UI CLI
In this step we install the KOS UI command-line tool. It is installed globally, so you only need to install it once. It exposes an executable named kosui, which you use to create new projects, add KOS models and components, and perform other KOS user interface tasks. Execute the following:
npm install -g @kosdev-code/kos-ui-cli@snapshot4) Install Visual Studio Code IDE
Download and install the latest version of Visual Studio Code. This is the code editor used throughout these tutorials for our React UI.
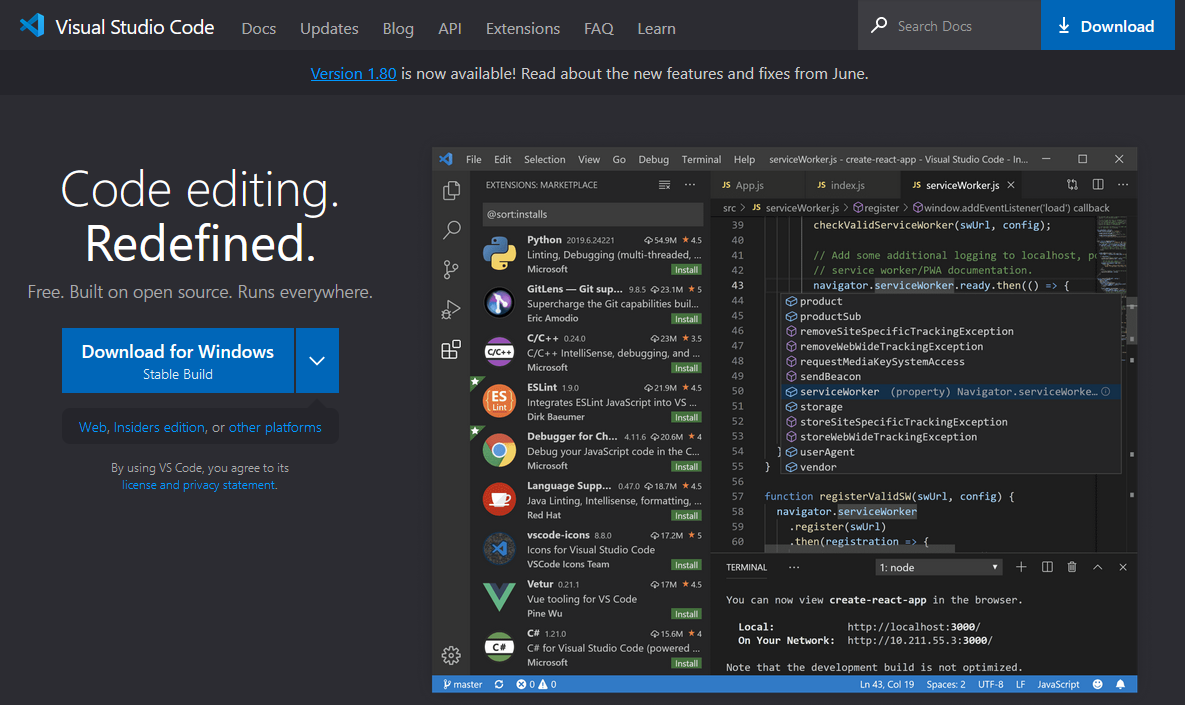
Figure 2. Download and install Visual Studio Code IDE

Create Project
In this section, we’ll create our application’s (empty) user interface project.
1) Create the new UI project
At this point, we want to create our new UI project "my-kos-app-ui" using the kosui command line tool.
a) Navigate to the parent directory where you’d like this project to exist, then execute:
kosui project --projectName my-kos-app-ui --modelProjectName my-kos-app-modelb) Change to the newly created my-kos-app-ui directory:
cd my-kos-app-uic) Install all dependencies, which may take a few minutes:
npm install2) Run the default application
At this point, your UI project is now configured to start using the KOS Model Framework. To view it:
a) Open Studio
b) Modify the "My KOS App" (created in the previous tutorials) image by changing the local override HTTP port to 9881 [Image Conguration > Settings > Port Mappings]

Figure 5. Change HTTP local override port to 9881
c) Execute "My KOS App" in the simulator
d) Return to the terminal’s command prompt and run the following, which executes our UI application:
npm run serve|
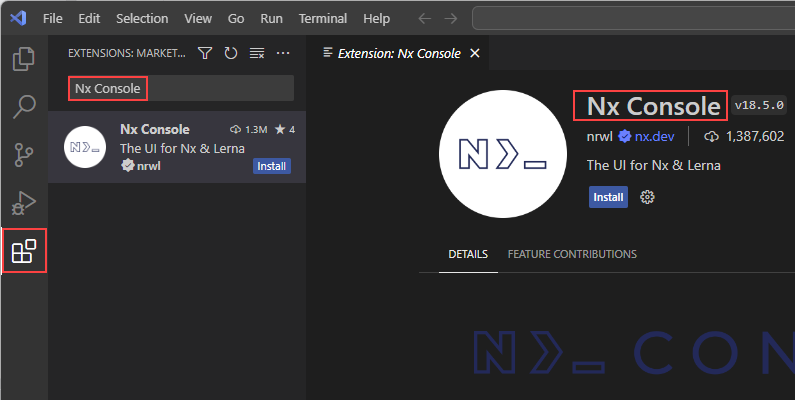
Nx Console
You can also use the Nx Console extension to execute the app:
Show me how to run app using Nx Console extension |
To see the KOS app startup screen, navigate to http://localhost:4200:
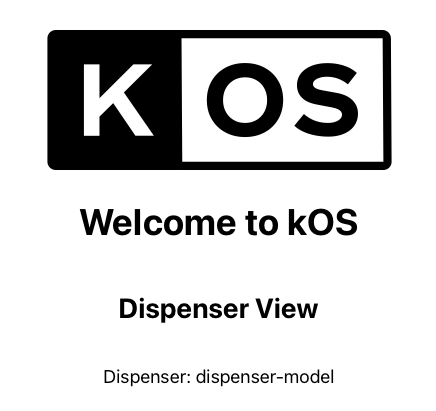
Figure 6. New application welcome screen
3) Open project in Visual Code
Once installed, open Visual Studio Code and select File > Open Folder. Navigate to our my-kos-app-ui folder then click Select Folder. You should see something like this:
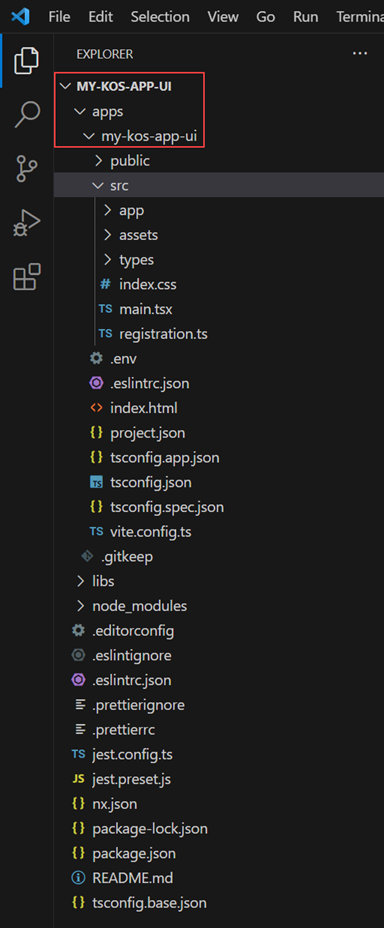
Figure 7. Our app in Visual Studio Code
|
Tip
You can also open Visual Code from the command line by running |
4) Build the KAB file
To build the UI KAB file:
-
In Visual Code, open the Nx Console extension
-
Under the COMMON NX COMMANDS section select "run-many"
-
In the top-center text bar select "kab"
-
At the "Execute command or set flags" prompt click on "Execute: nx run-many --target=kab"
This creates the UI KAB file in the project’s dist/archives/packages/my-kos-app folder.
Alternatively, you can also run this operation from the command line:
npx nx run-many --target=kabModify UI
In this section, we’ll change some text on our output screen.
-
The Studio simulator and
npm run servecommand that we executed in the previous sections should still be running -
In VS Code, open the
apps/my-kos-app-ui/src/app/components/dispenser-view.tsxfile -
On or about line 31, change
<h2>Dispenser View</h2>to<h2>I’m Alive!</h2> -
Save the change
-
Return to the browser page to confirm the modified text:
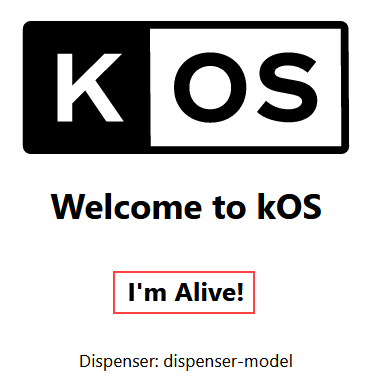
Figure 8. After changing text in our app
On this page
Java Development
Seamlessly transition from Legacy+ systems to Freestyle microdosing and advanced distributed dispense systems.
UI Development
Using KOS SDKs, integrating Consumer and Non-consumer facing UIs becomes seamless, giving you less hassle and more time to create.
Video Library
Meet some of our development team, as they lead you through the tools, features, and tips and tricks of various KOS tools.
Resources
Familiarize yourself with KOS terminology, our reference materials, and explore additional resources that complement your KOS journey.
Copyright © 2024 TCCC. All rights reserved.