Documentation
Select Hardware Profile
After selecting your kOS release to configure your device image, you must choose the hardware profile and node settings for the device on which you will run your image. The Hardware profile screen lets users set up port mappings and developer flags to facilitate quick debugging and device setup. This article walks through the steps to set up hardware settings for your image.
Hardware Profiles :
Hardware profiles provide images with details about the hardware on which you run the image. Hardware profiles are added by the administrator per project via Hardware management .
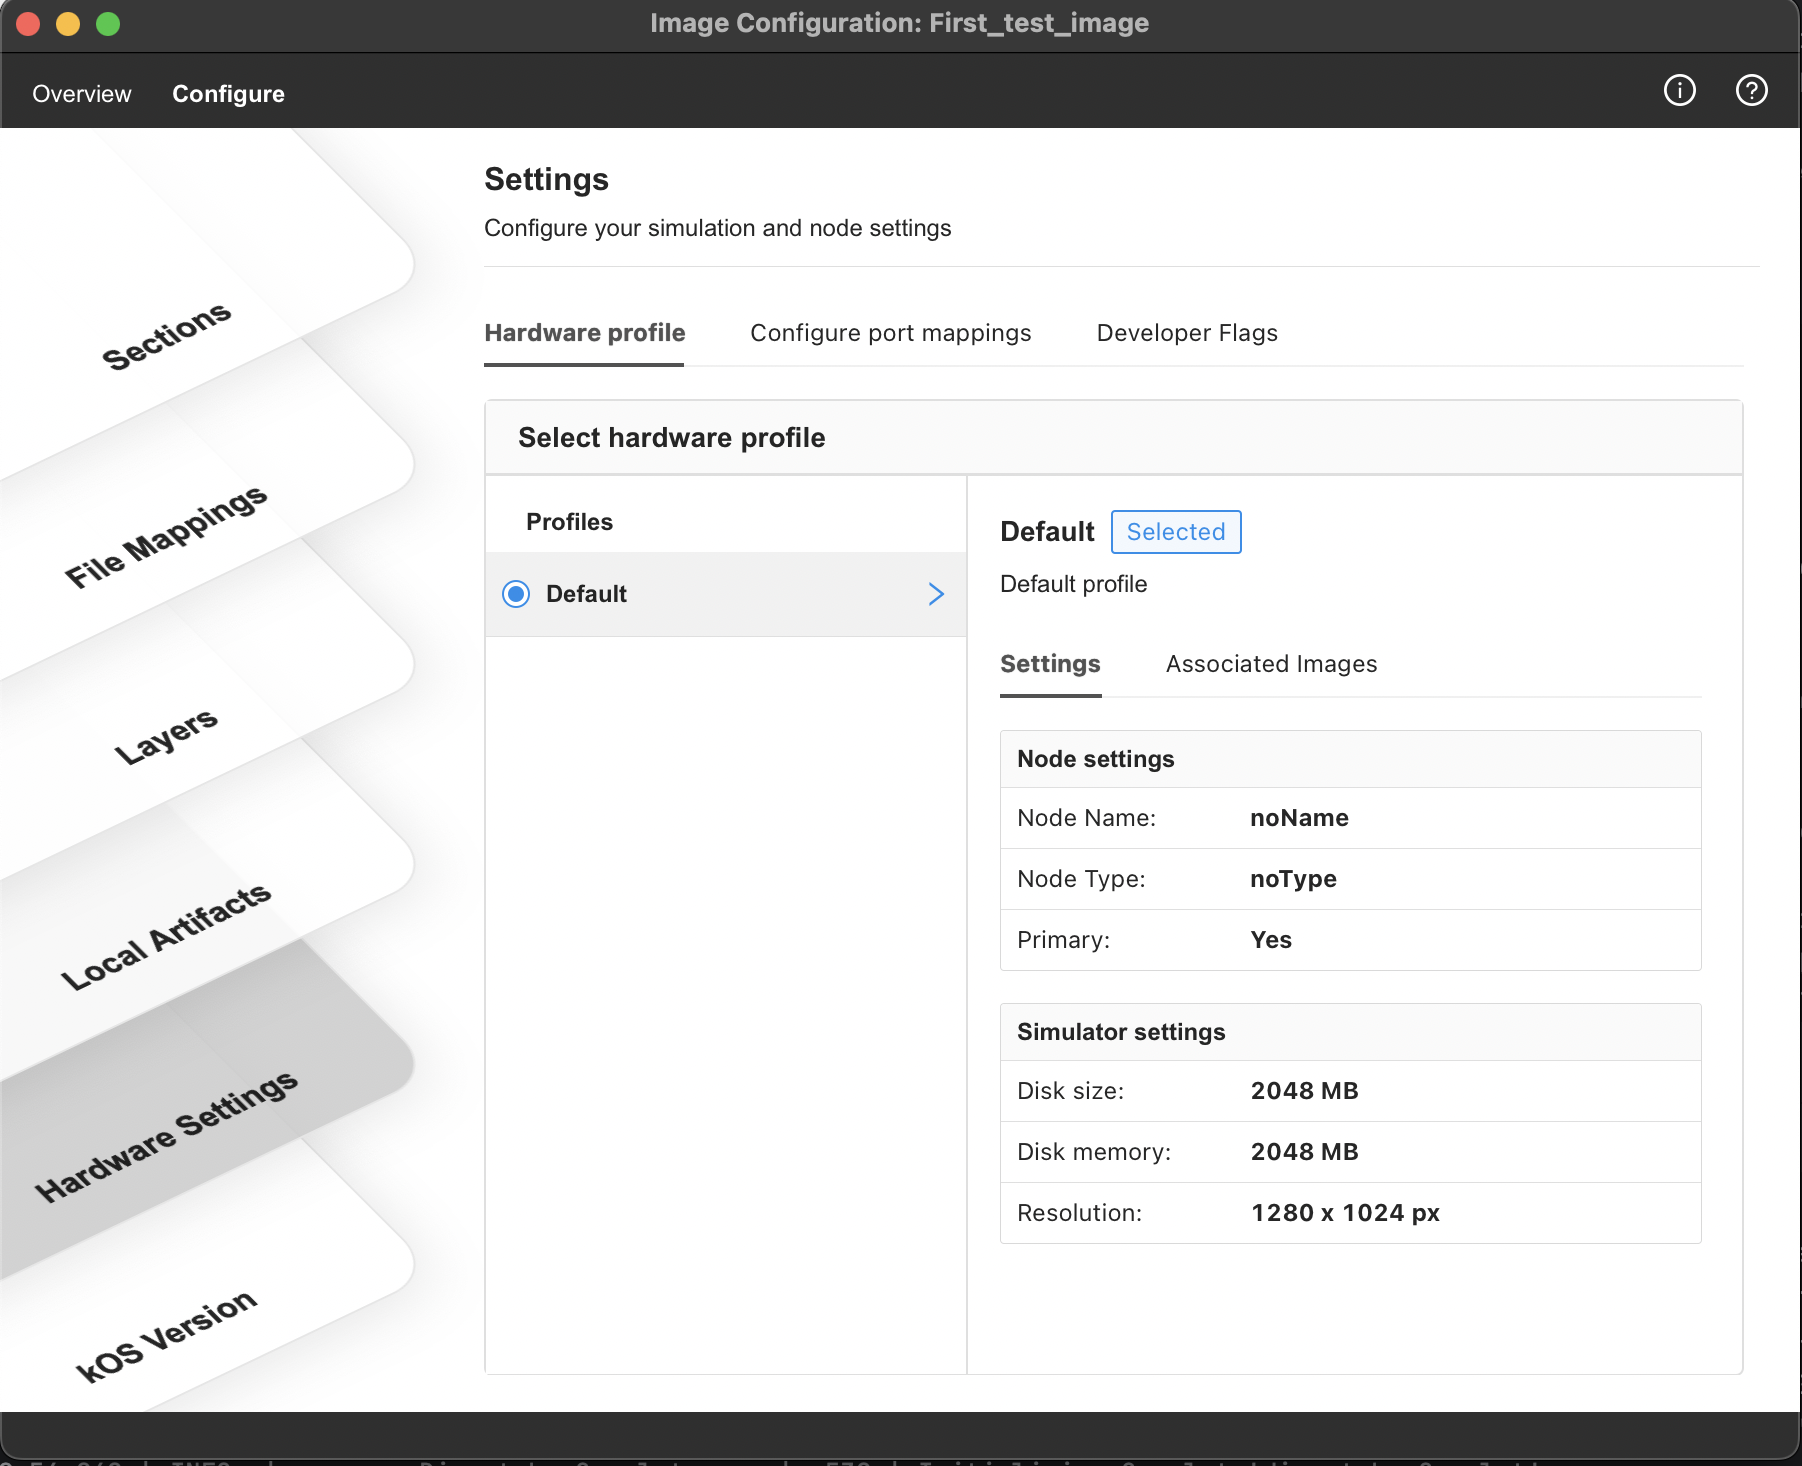
Figure 1. Configure Hardware Profile
Access and view hardware profiles for an image
-
Log in to kOS Studio, and from My Images, click on Open Image Manager (in the upper right corner of the screen)
-
From the list of images, select the image you want to update and click on Settings
 for that image(on right hand side for image row)
 -
Select the Configure tab from the top menu on the image configuration window.
-
From the Image Configuration window that opens, select Hardware Settings from the list of stacks displayed on the left-hand side.
-
Select the Hardware Profile tab to view available hardware profiles.
-
Select the appropriate hardware profile from the list by selecting the radio button.
-
Details about the profile are displayed once a profile is selected from the list. Consider following :
-
A default profile is added to your hardware profiles list by kOS Studio.
-
For child images, the Inherited hardware profile is indicated via an inherited label

-
Port Mappings
Port mapping lets you access simulator data on various ports outside. kOS studio allows users to specify their ports per protocol via port mappings. You can find out more about port mapping here.
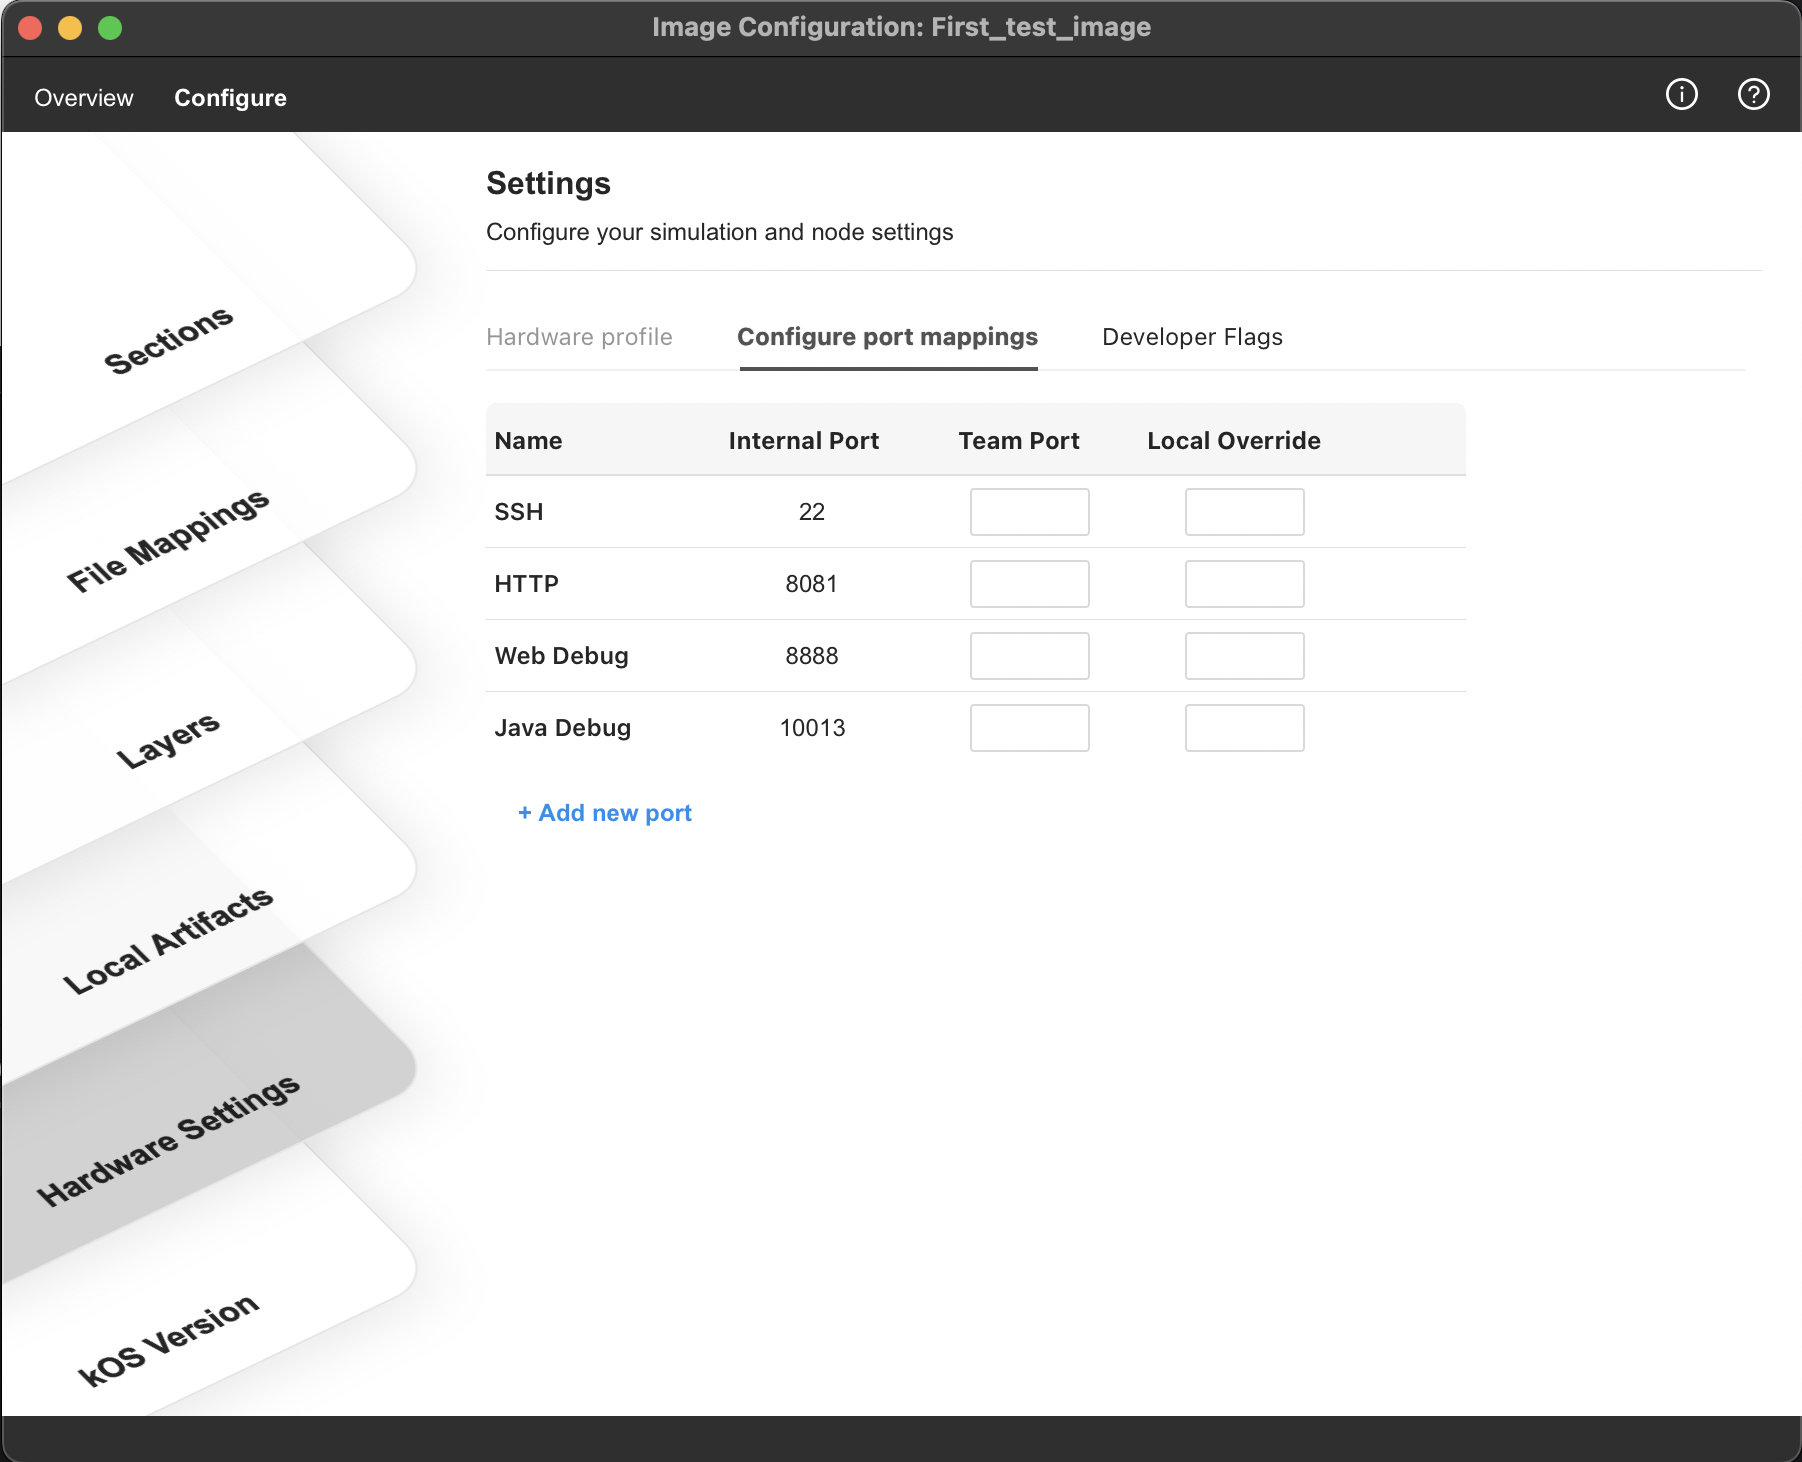
Figure 2. Configure Port Mappings
Access and view the port mappings for an image
-
Log in to kOS Studio, and from My Images, click on Open Image Manager (in the upper right corner of the screen)
-
From the list of images, select the image you want to update and click on Settings
for that image(on right hand side for image row) -
Select the Configure tab from the top menu on the image configuration window.
-
From the Image Configuration window that opens, select Hardware Settings >> Configure port mappings tab
Adding port mapping
-
Log in to kOS Studio, and from My Images, click on Open Image Manager (in the upper right corner of the screen)
-
From the list of images, select the image you want to update and click on Settings
for that image(on right hand side for image row) -
Select the Configure tab from the top menu on the image configuration window.
-
From the Image Configuration window that opens, select Hardware Settings > Configure port mappings tab
-
Select the protocol you want to add port mappings for from the displayed list. Provide the internal simulator port, team mapping, and local override for the newly added port. Consider following :
-
Use ports higher than 1024 as port forwarding, where port numbers smaller than 1024 can only be created by software running as the root user.
-
If you have a Local Override Specified, it will take precedence over the Team Port. If no Local Override is provided, Team Port will be used.
-
kOS studio will always show an indicator
 next to the active port mapping.
 -
For child images, inherited port mapping is indicated via grayed out text, which can be updated to a different value if needed.
-
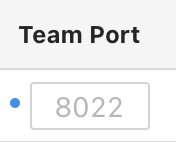
Figure 3. Inherited port mapping
Adding a custom port and port mapping
-
Log in to kOS Studio, and from My Images, click on Open Image Manager (in the upper right corner of the screen)
-
From the list of images, select the image you want to update and click on Settings
for that image(on right hand side for image row) -
Select the configure tab from the top menu on the image configuration window.
-
From the Image Configuration window that opens, select Hardware Settings >Configure port mappings tab
-
Click the Add new port on the Configure port mapping tab. Here, provide the internal simulator port, team mapping, and local override for the newly added port. Consider following :
-
Use ports higher than 1024 as port forwarding, where port numbers smaller than 1024 can only be created by software running as the root user.
-
If you have a Local Override Specified, it will take precedence over the Team Port. If no Local Override is provided, Team Port will be used.
-
kOS studio will always show an indicator
next to the active port mapping.
-
On this page
Java Development
Seamlessly transition from Legacy+ systems to Freestyle microdosing and advanced distributed dispense systems.
UI Development
Using kOS SDKs, integrating Consumer and Non-consumer facing UIs becomes seamless, giving you less hassle and more time to create.
Video Library
Meet some of our development team, as they lead you through the tools, features, and tips and tricks of various kOS tools.
Resources
Familiarize yourself with kOS terminology, our reference materials, and explore additional resources that complement your kOS journey.
Copyright © 2024 TCCC. All rights reserved.